Getting Started - First Fuse Project
This guide demonstrates step-by-step how to create a sample Camel project in JBoss Developer Studio (JBDS) using the Maven archetypes that come out of the box. Specifically, we’ll be creating a Spring based file poller project. We’ll then deploy the project to a JBoss Fuse server and verify that it is running properly.
Here are a few assumptions before you begin:
- You already have a supported JDK installed (ie, Oracle’s JDK version 6 or 7)
- You already have Maven version 3.x installed
- You already have JDBS installed (tested with version 7.1.1, but should work with newer)
- You already have the “JBoss Integration and SOA Development” tools for JBDS installed
- You already have JBoss Fuse version 6.1 installed
After you’ve met all the prerequisites, you can proceed with the guide.
Step 1: Create A New Fuse Project
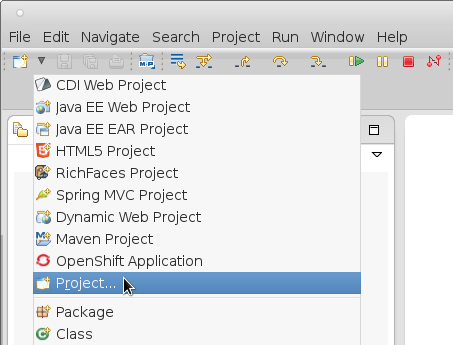
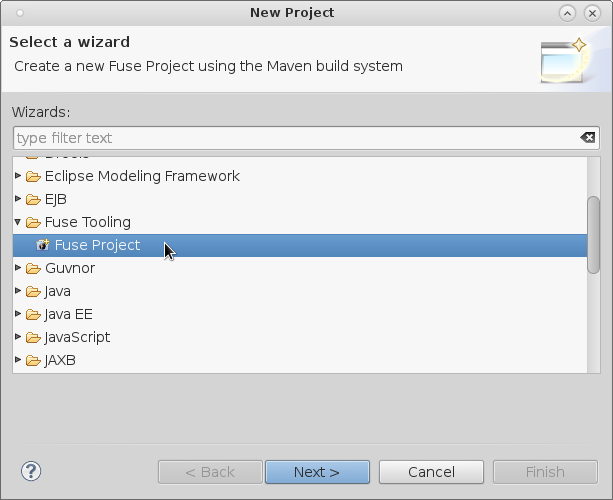
Start off by creating a new project. Click File->New->Project… to start the “New Project” wizard.
Select “Fuse Project“ as the project type and click “Next >“.
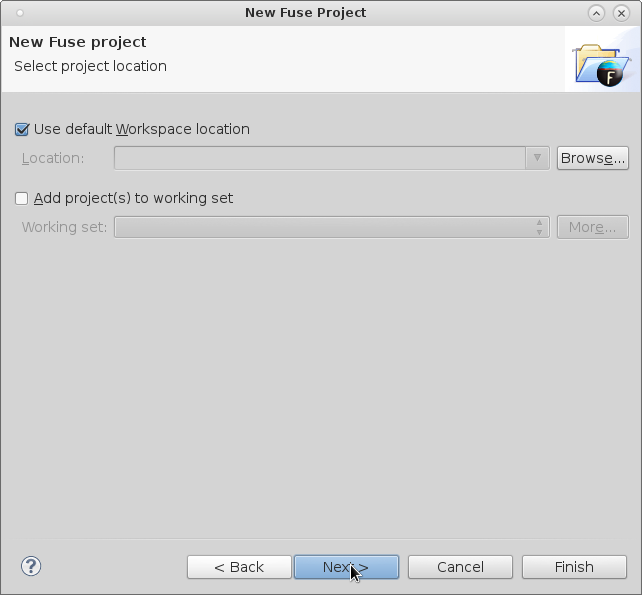
Specify your preferred project location (or let it use the default) and click “Next >“.
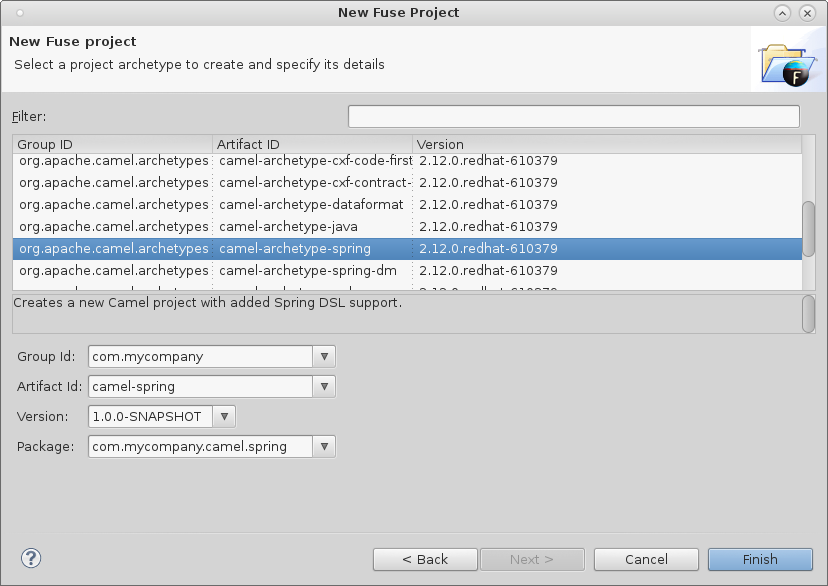
Select the appropriate Maven archetype from the list. The one we use for this example is “org.apache.camel.archetypes:camel-archetype-spring:2.12.0.redhat-610379“. Enter your preferred Group Id, Artifact Id, Version, & Package. When done, click “Finish“.
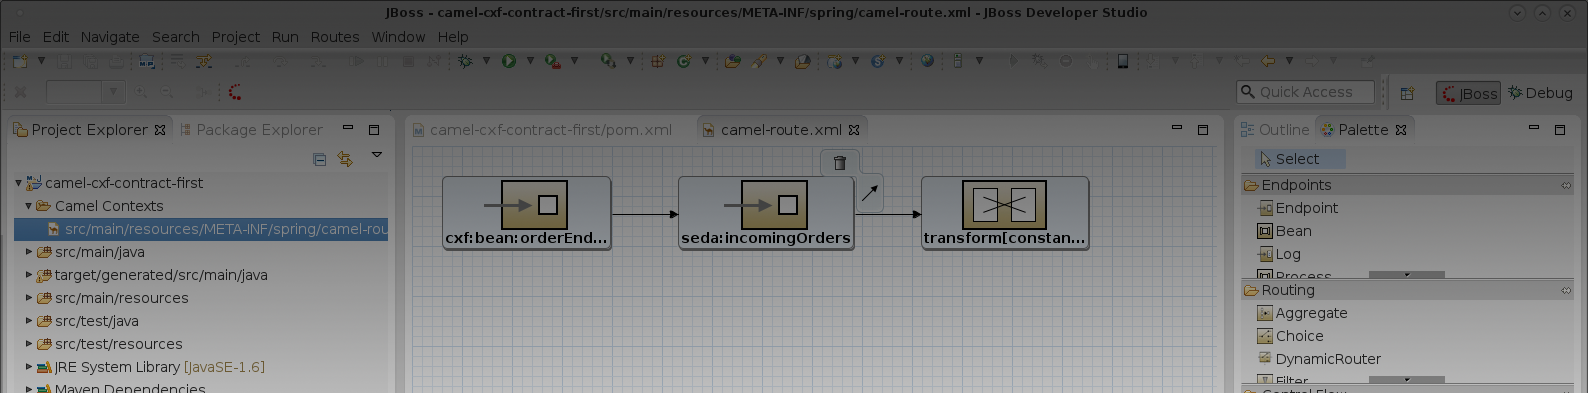
Your new project should be created. If this is the first time, it can take a few minutes as JBDS downloads all the required Maven dependencies.
Step 2: Run The Project Locally
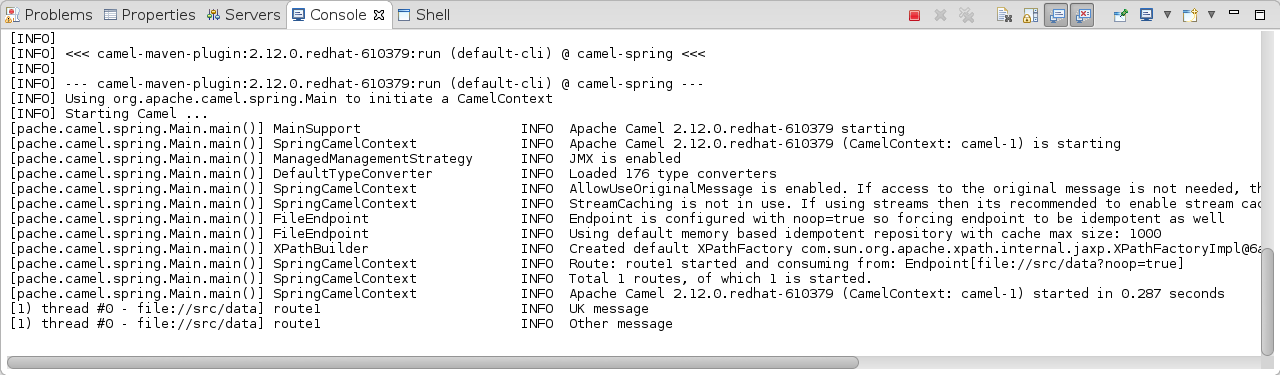
To run the project locally, right click on the Camel Context and select Run As->Local Camel Context (without tests).

This will run the project using the Camel Maven Plugin which uses a simple embedded, containerless runtime. The project contains some sample files in the “src/data“ directory that will be picked up immediately once the Camel Context has successfully started. You should see output similar to the one below in the “Console“ tab.
When you’re satisfied that everything is running properly, you can shut down the local runtime by clicking the clicking the  icon in the “Console“ tab.
Step 3: Deploy Project To JBoss Fuse
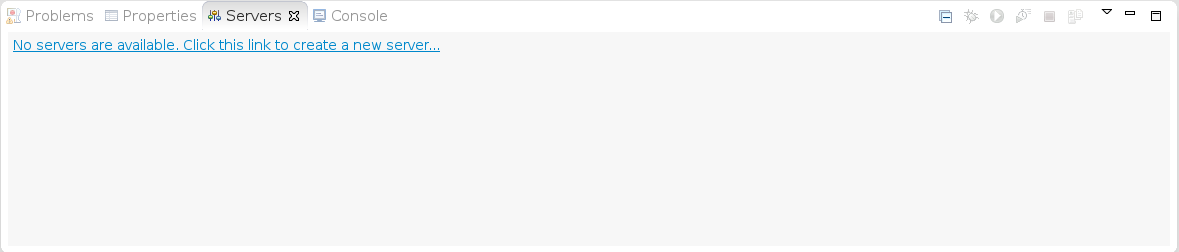
If you don’t have one already, create a new server configuration in JBDS. Click on the “Servers“ tab. If you don’t have any server configurations, you will see a link like the image below. Click on the link to start the “New Server“ wizard.
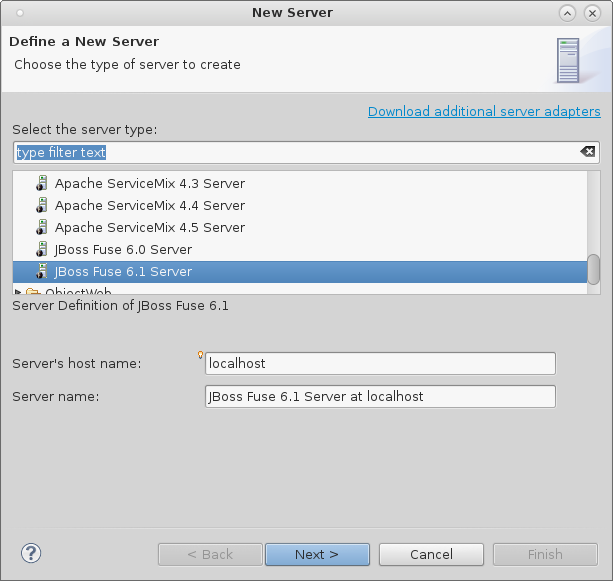
Select “JBoss Fuse 6.1 Server“ and click “Next >“.
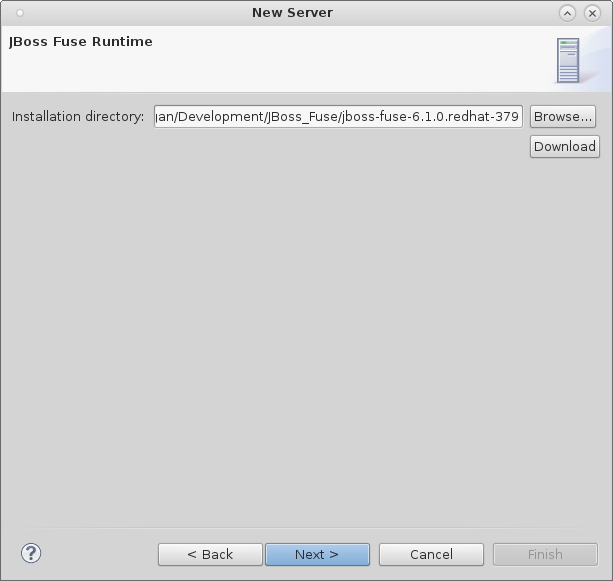
Click the “Browse“ button and navigate to the root directory of your JBoss Fuse installation. Click “Next >“ when done.
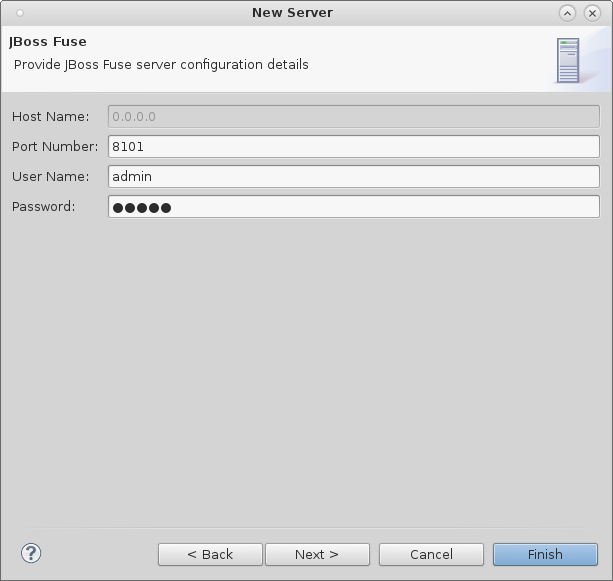
Enter the appropriate details/credentials for your JBoss Fuse server and click “Finish“.
You should now have a new server configuration as shown below.

Next, start the server. You can do so by clicking the  icon as shown below.
You may get a warning about SSH keys like the one shown below. If so, just click “Yes“ to accept the new key.

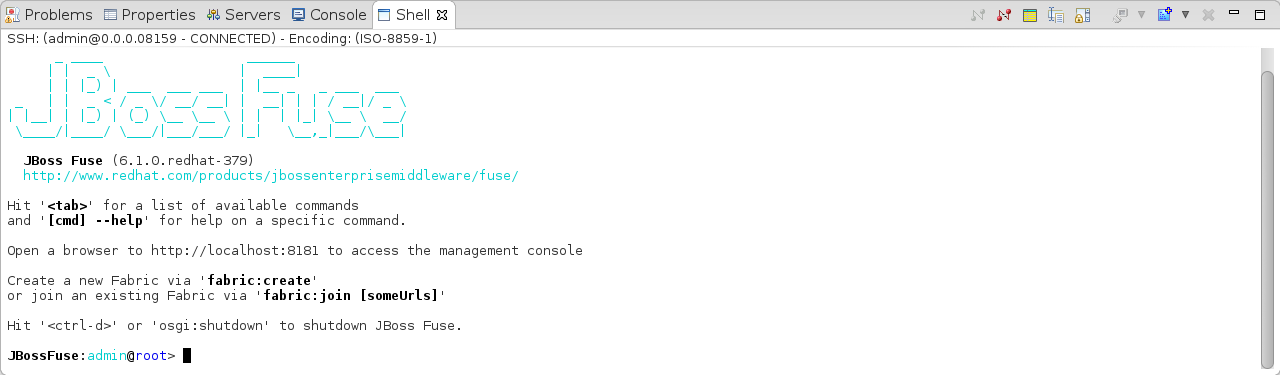
If the server starts successfully, you should see the JBoss Fuse shell shown below.
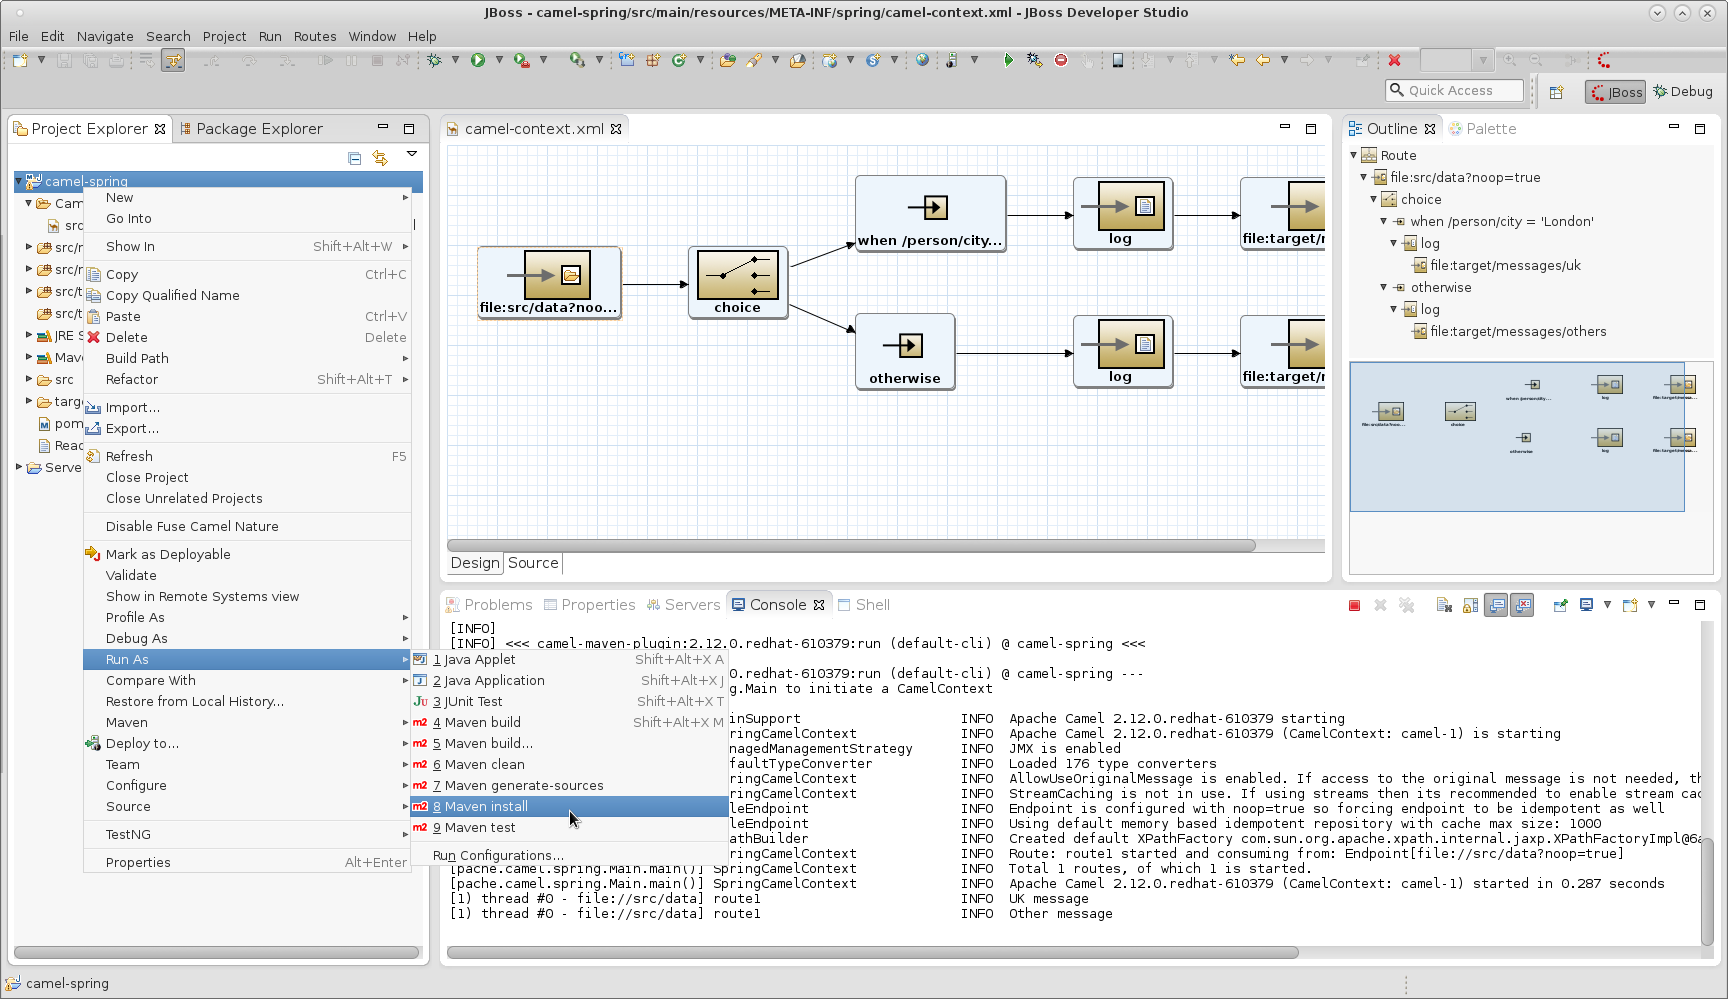
Next we’ll build the project and deploy it to the running server. To build the project, right-click at the project root and select Run As->Maven install.
You will see the output of the Maven build in the “Console“ tab. If there were no errors, you should the a BUILD SUCCESS message.

Now select the “Shell“ tab again to switch back to the JBoss Fuse console. Enter the following command to deploy your project (make sure to substitute the Maven Group Id, Artifact Id, & Version for the ones you specified in Step 1):
1 | osgi:install -s mvn:com.mycompany/spring-camel/1.0.0-SNAPSHOT |
Your bundle should install and give you a Bundle ID. This Bundle ID is the identifier you will use to interact with that bundle in the future (ie, to uninstall, stop, start, …).

You can also type the following command to verify that there are no failures:
1 | osgi:list |
You should see your newly installed bundle as shown below.

Finally, open up a file browser (or use a terminal) and copy the sample files from “camel-spring/src/data“ to the “src/data“ directory inside the JBoss Fuse installation folder. Now, switch back to the “Shell“ tab and type the following command in the JBoss Fuse console:
1 | log:display |
You should see the log statements printed toward the bottom of the log.

At this point, you have successfully created and deployed a Spring based file poller project to JBoss Fuse.
Getting Started - First Fuse Project
https://blog.joshdreagan.com/2015/04/09/getting_started__first_fuse_project/